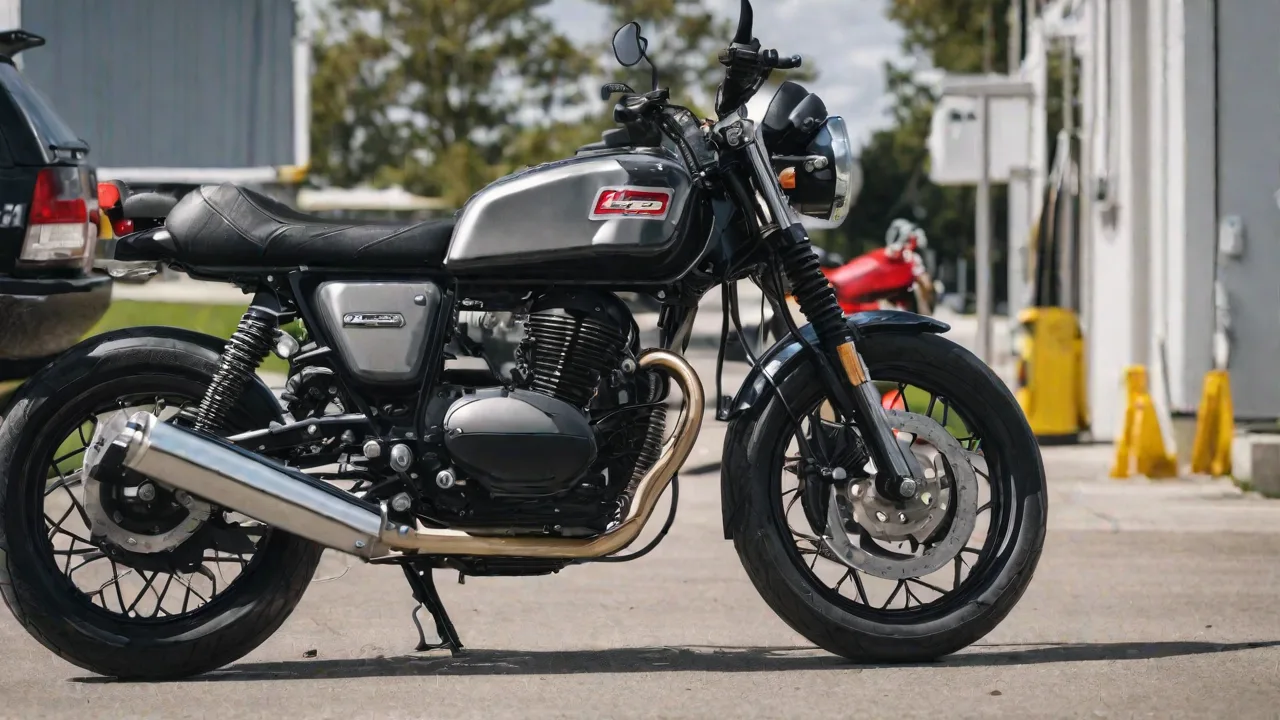
Troubleshooting Common Electrical Issues on the Everyday Motorcycles Flash 125
Electrical issues on your Everyday Motorcycles Flash 125 can disrupt your riding experience and, in some cases, pose safety risks. Understanding how to identify, diagnose, and resolve these problems is crucial for maintaining the reliability and safety of your motorcycle. Fortunately, many common electrical issues are straightforward to troubleshoot with basic tools, some mechanical know-how, and patient investigation.
Understanding the Electrical System of the Flash 125
Before diving into troubleshooting, it helps to have a basic understanding of the Flash 125’s electrical system. This system powers essential components like the ignition, lighting, indicators, horn, and charging circuit. Key elements include:
- Battery: Supplies electrical power to start the engine and run accessories when the engine isn't generating power.
- Charging System (Stator and Regulator/Rectifier): Generates electricity when the engine runs and charges the battery.
- Fuses: Protect circuits by breaking the connection if current exceeds safe levels.
- Switches and Controls: Enable rider input for lights, indicators, horn, and ignition.
- Wiring Harness: Connects all electrical components and transmits power and signals.
- Bulbs and Indicators: Provide visual signals and illumination.
Knowing how these components interact helps pinpoint where issues may arise and guides effective troubleshooting.
Common Electrical Issues on the Flash 125
The Flash 125, like many motorcycles, can experience a range of electrical problems. Some of the most frequent issues include:
- Dead or Weak Battery: Prevents the motorcycle from starting or causes dim lighting.
- Faulty or Flickering Lights: Headlight, brake light, or indicator lights that dim, flicker, or fail to illuminate.
- Blown Fuses: Result in complete loss of power to certain circuits.
- Malfunctioning Switches and Connectors: Controls that don’t respond or intermittent electrical connections.
- Charging System Failures: Battery not charging during operation, leading to power loss.
- Corroded or Damaged Wiring: Wires that are frayed, broken, or corroded, causing intermittent or complete failure.
Detailed Troubleshooting Steps
Effective troubleshooting involves a systematic approach to identify and resolve electrical faults. Here’s a step-by-step guide tailored to the Flash 125:
1. Check the Battery Thoroughly
The battery is often the root cause of electrical problems. To check it properly:
- Visual Inspection: Look for signs of corrosion on terminals, cracks in the casing, or leaking electrolyte.
- Clean Terminals: Use a wire brush or sandpaper to clean terminal posts and cable clamps to ensure a good connection.
- Measure Voltage: Using a multimeter set to DC voltage, measure across the battery terminals. A healthy, fully charged 12V battery should read around 12.6 volts or higher.
- Load Test: If you have access to a battery load tester, perform a load test to check if the battery can hold voltage under starting conditions.
- Recharge or Replace: If voltage is low, recharge the battery using an appropriate motorcycle battery charger. If the battery does not hold charge, replacement is necessary.
2. Inspect and Replace Fuses
The Flash 125 uses fuses to protect its electrical circuits. A blown fuse can cause a complete loss of power in a circuit. Follow these steps:
- Locate the Fuse Box: Usually found under the seat or side panels.
- Identify Blown Fuses: Visually inspect fuses for broken filaments or discoloration.
- Use a Multimeter for Confirmation: Test continuity across the fuse terminals to ensure it is intact.
- Replace with Correct Rating: Always use a fuse with the exact amperage rating specified in the owner’s manual to avoid damage.
Repeated fuse blowouts indicate underlying problems such as short circuits or overloaded wiring, requiring further diagnosis.
3. Examine Wiring and Connectors
Damaged wiring and poor connections are common sources of electrical problems. Follow these inspection tips:
- Visual Inspection: Look for cracked insulation, exposed wires, or burn marks along the wiring harness.
- Check Connectors: Disconnect and reconnect major connectors, especially around the handlebar controls, lights, and battery terminals.
- Corrosion and Dirt: Clean connectors using electrical contact cleaner to remove oxidation and grime.
- Wiggle Test: Gently move wires and connectors while observing if electrical components flicker or fail, indicating a loose or broken connection.
- Repair or Replace: Use heat shrink tubing and quality crimp connectors to fix damaged wiring. Severely damaged harnesses may require professional replacement.
4. Test Switches and Bulbs
Non-functioning lights or controls may stem from faulty switches or burnt-out bulbs. Steps include:
- Switch Testing: Use a multimeter to test continuity of switches such as the ignition switch, light switch, horn button, and turn signal switch.
- Bulb Inspection: Remove bulbs and visually check filament condition. Replace any burnt-out bulbs with the correct type and wattage.
- Socket Condition: Ensure bulb sockets are clean and free of corrosion.
5. Verify the Charging System
If the battery keeps discharging despite being replaced or recharged, the charging system may be faulty. Procedure:
- Start the Engine: With the multimeter connected to the battery terminals, measure voltage at idle and at increased RPM (around 3000 RPM).
- Expected Voltage: Should increase to approximately 13.5 to 14.5 volts, indicating proper charging.
- Check Stator and Regulator/Rectifier: Inspect for visible damage or signs of overheating. Testing these components often requires specialized knowledge and tools.
If charging voltage is low or unstable, consult a qualified technician for detailed diagnosis and repair.
6. Refer to the Service Manual
The Everyday Motorcycles Flash 125 service manual is an invaluable resource. It provides detailed wiring diagrams, component locations, troubleshooting flowcharts, and technical specifications. Use it as a guide for more complex issues or when identifying specific wire colors and connector pinouts.
Preventive Tips for Electrical System Longevity
Proactive maintenance can significantly reduce the risk of electrical problems on your Flash 125. Consider these tips:
- Regular Battery Maintenance: Keep terminals clean and ensure the battery is properly charged, especially if the motorcycle is unused for extended periods.
- Protect Wiring from Moisture: Avoid exposing connectors and wiring to water. Use dielectric grease on connectors to prevent corrosion.
- Check for Loose Connections: Periodically inspect and tighten battery cables, ground straps, and other connectors.
- Use Quality Replacement Parts: Use OEM or reputable aftermarket electrical components to ensure compatibility and reliability.
- Store Properly: If storing the motorcycle for the off-season, disconnect the battery or use a trickle charger to maintain charge.
When to Seek Professional Help
While many electrical issues can be resolved at home, some problems require professional expertise. Consider visiting a qualified motorcycle electrician or service center if:
- Electrical problems persist after basic troubleshooting.
- You encounter complex issues such as charging system failures or intermittent faults that are difficult to isolate.
- Special diagnostic tools or component replacements are necessary.
- You are uncomfortable working with electrical systems or lack the necessary tools.
Professional diagnostics can save time and prevent accidental damage, ensuring your Flash 125 remains safe and reliable.
Essential Tools for Electrical Troubleshooting
Having the right tools on hand makes troubleshooting easier and more accurate. Recommended tools include:
- Digital Multimeter: For measuring voltage, continuity, resistance, and current.
- Test Light: Useful for quick checks of power presence in circuits.
- Wire Strippers and Crimpers: For repairing wiring connections.
- Electrical Contact Cleaner: To clean connectors and switches.
- Screwdrivers and Pliers: Standard hand tools for removing panels and components.
- Service Manual: Contains vital information for troubleshooting and repairs.
Summary
Electrical issues on the Everyday Motorcycles Flash 125 are common but manageable with a structured approach. Starting with the battery, checking fuses, inspecting wiring, testing switches and bulbs, and verifying the charging system will address most problems. Preventive maintenance and proper tool use enhance reliability, while the service manual provides essential guidance. When in doubt, professional help ensures safe and effective repairs, keeping your Flash 125 running smoothly and safely on every ride.